Making Wooden Mitre Planes
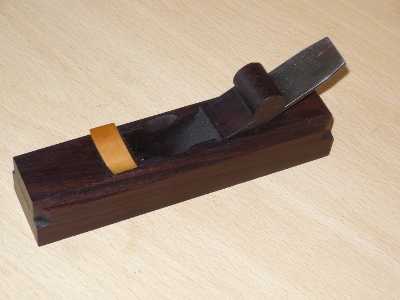
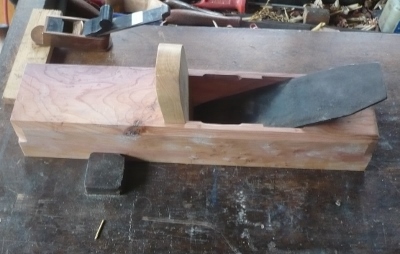
I have just finished 2 mitre planes, one all very dark rosewood 7" long and one all boxwood with a stud insert 6" long.
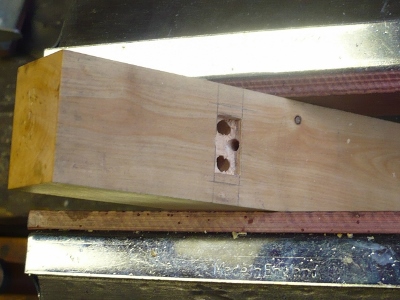
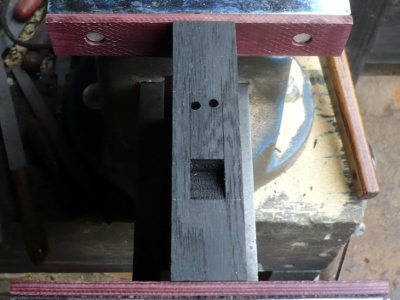
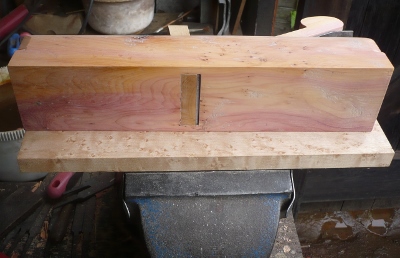
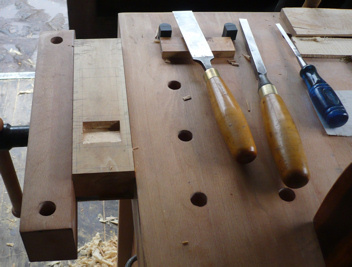
I have drilled 2 vertical holes right through the body of the plane starting at the mouth.
Now I have chiseled the mouth out slightly so I can now drill the third hole down the bed angle, making sure it clears the bottom of the bed, which will be the mouth.
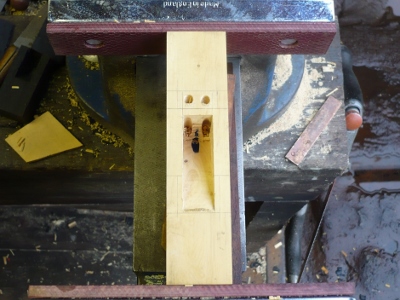
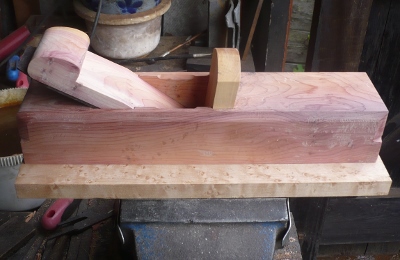
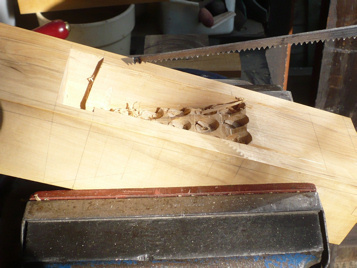
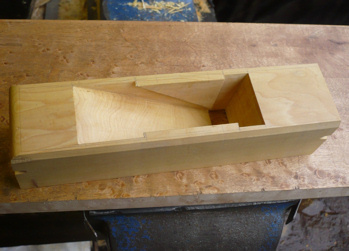
Turning the plane the right way up, I start to chisel the waste out using a chisel the right width. I would normally use a mortice chisel, but I haven't got the required width in this instance, so I am using a Japanese chisel which is nice and thick, you could easily break a standard chisel.
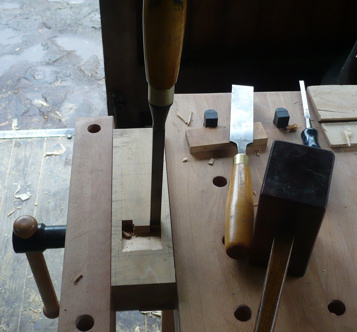
I chisel this part out as shown to give me some idea as to the depth and the angle of the bed.
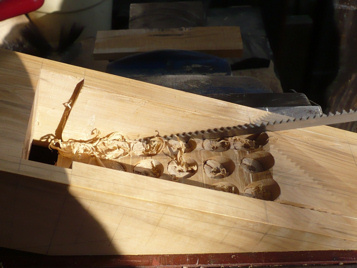
Now I chisel until I come across the third hole that I drilled which is just above the bed line, I have coloured it dark so that you can see it. These 3 holes are to tell me when I am getting near the mouth and they also help to prevent the chisel going too deep into the wood and damaging the mouth.
I chisel this part out as shown to give me some idea as to the depth and the angle of the bed.
Now I chisel until I come across the third hole that I drilled which is just above the bed line, I have coloured it dark so that you can see it. These 3 holes are to tell me when I am getting near the mouth and they also help to prevent the chisel going too deep into the wood and damaging the mouth.
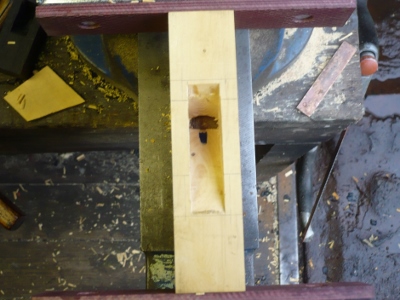
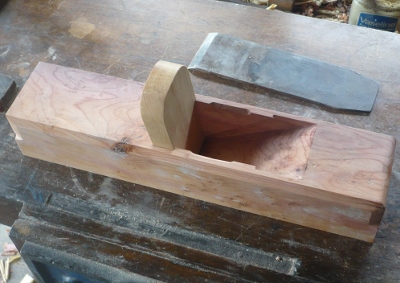
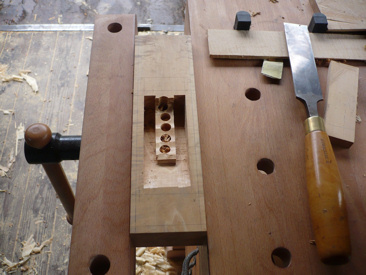
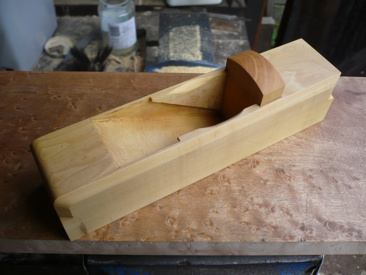
Now I have reached the mouth I can finish all the chiseling accurately.
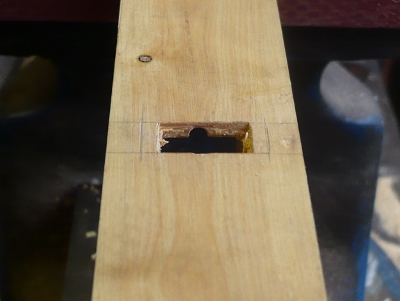
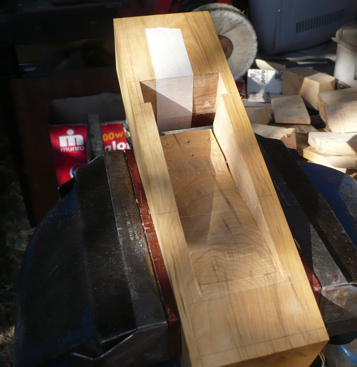
All the chiseling done.
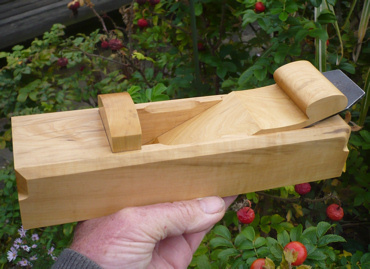
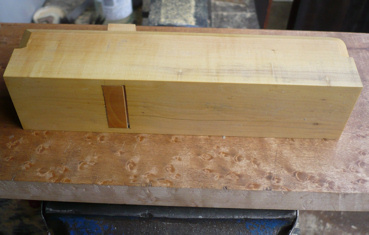
The finished plane ready for the linseed.
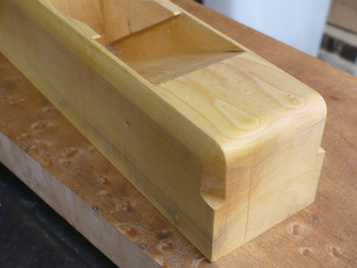
See the difference now it has been in the linseed.
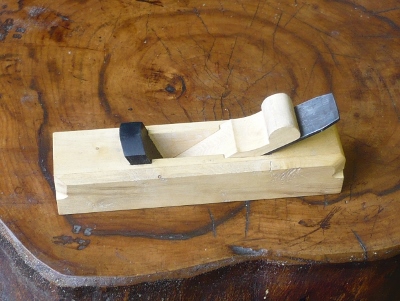
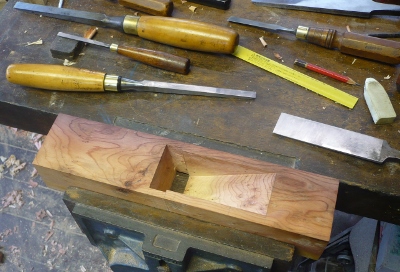
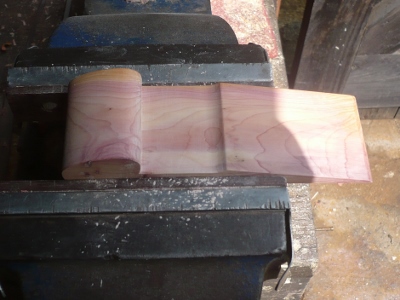
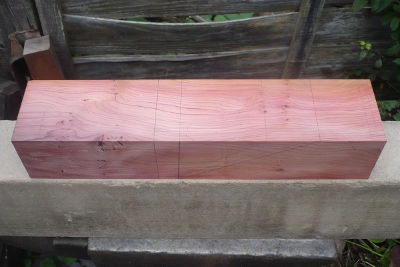
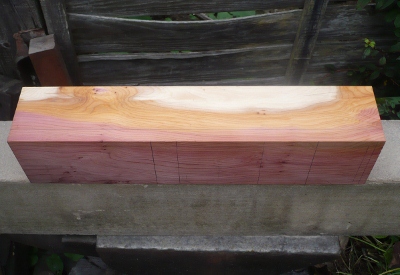
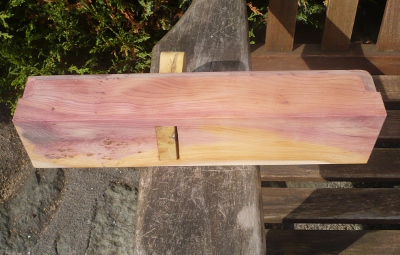
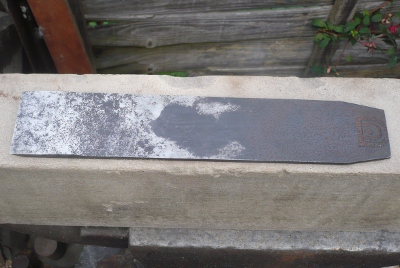
I have taken most of the rotten wood off this piece of bog oak and have started to make a 5 1/4" mitre plane.

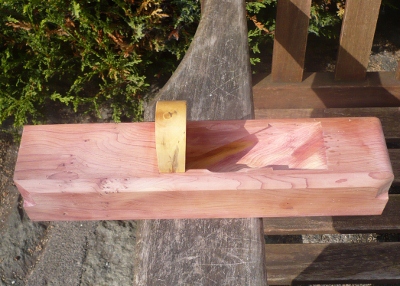
I have a new technique to remove the waste, I have drilled from the underneath side 2 vertical holes through where the mouth mouth adjuster will eventually fit, this picture shows the plane the right way up and |I have started to chisel out all the waste towards the 2 holes.
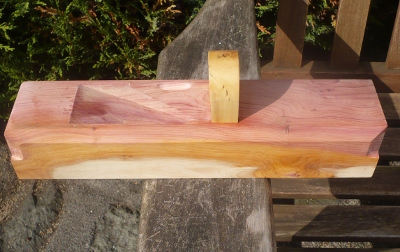
I have now chiseled out the bed through the 2 holes and have not quite reached the front end. This method has made it a bit easier than before.
I used the exact width of mortice chisel to remove the waste.

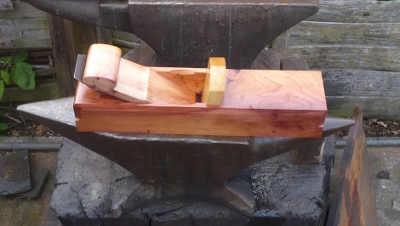
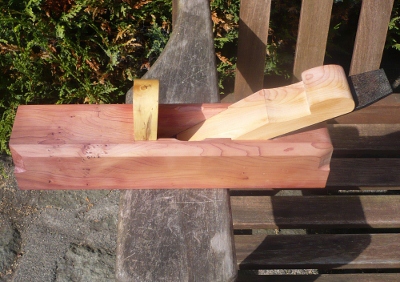
The finished plane, just got to soak it in raw linseed.

The plane has been soaking in linseed for a couple of days and is really black.
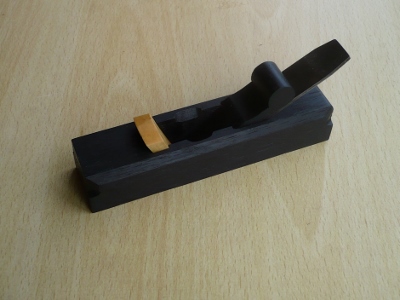
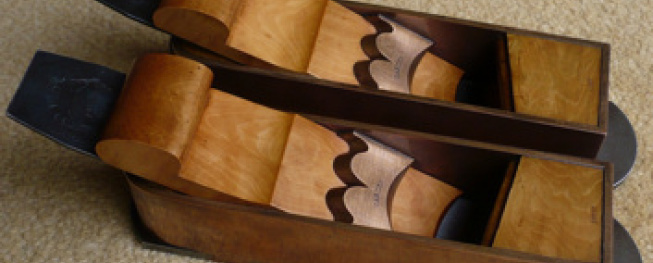
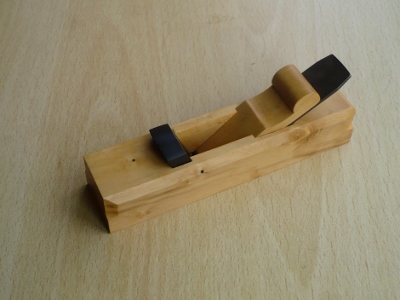
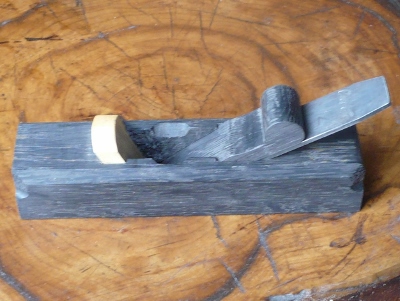
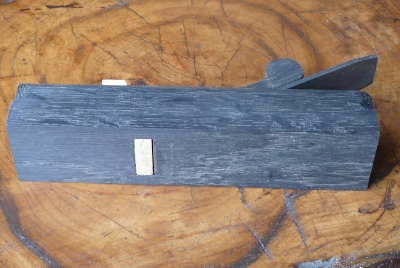
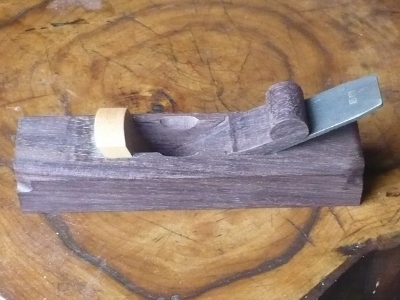
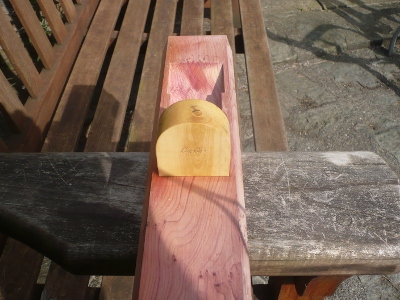
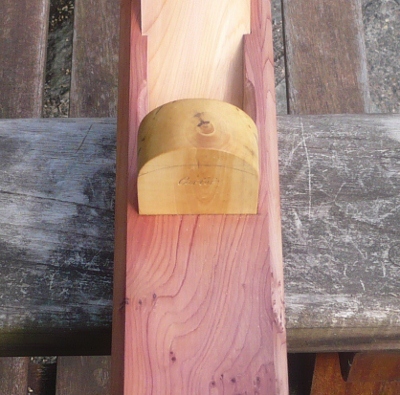
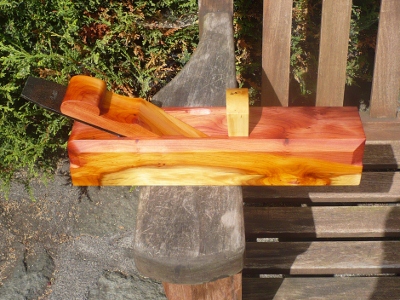
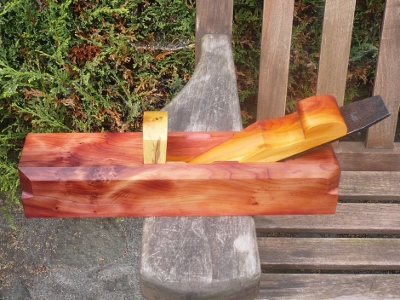
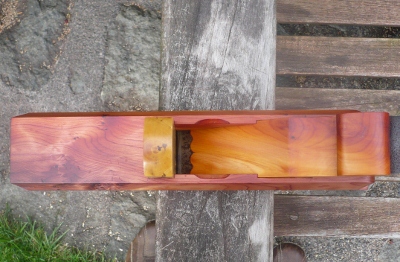
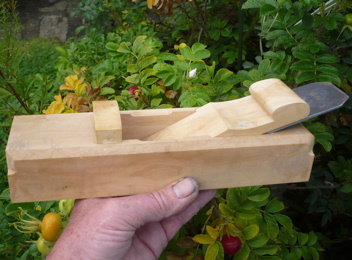
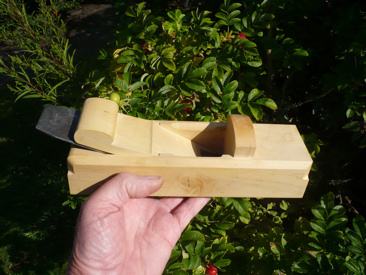
A 5 1/4" long rosewood mitre plane with boxwood mouth adjuster.
After a quick dip in linseed.
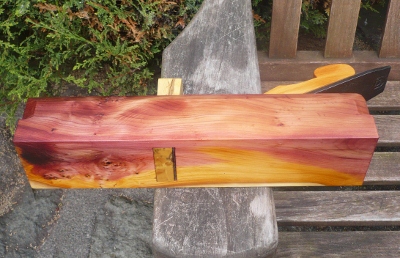
I have started to make a 13" long wooden mitre plane out of yew, it is similar to a Mathieson mitre plane I have seen.
The Mathieson I am copying had a very high rounded mouth closer, I am quessing at the sizes as I only have a picture. My first attempt is too high sticking out of the plane, I will cut it down tomorrow.
I have now reshaped the mouth closer and I think it looks a lot better.

I have fitted the wedge, but again I am not happy, I will reshape the throat and the scroll.

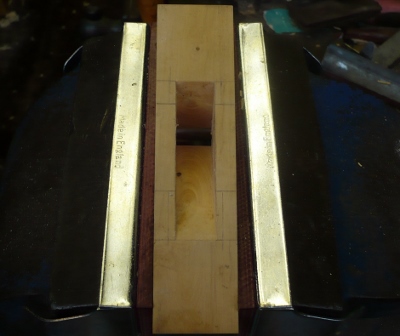
Because the edges of the yew tend to break away if you are not very careful, I have positioned the wedge within the brass jaws to the level that I want to remove the waste using a hack saw with very fine teeth.

Keeping the wedge in the same position I have chiseled away the waste and smoothed it down to the top of the brass jaws. I got a perfect edge either side of the wedge by using this method, now for the scroll.
The wedge is now to my satisfaction so I will work on the iron.
I had a few problems with the iron, but now it works a treat.
I coated the outside of the plane with Araldite leaving the sole, the Araldite will help to protect the edges of the plane and I will linseed the sole.
I had a few problems with the iron, but now it works a treat.
I coated the outside of the plane with Araldite leaving the sole, the Araldite will help to protect the edges of the plane and I will linseed the sole.

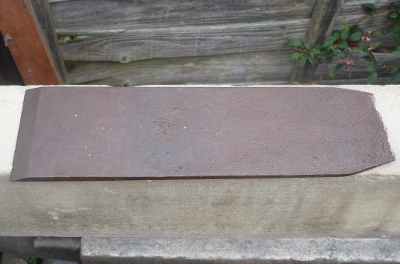
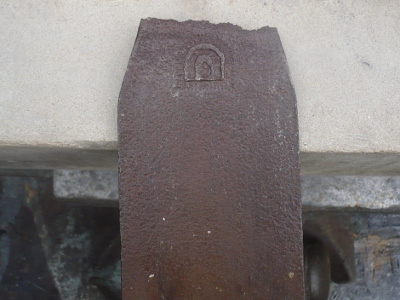
I have got a really long rusty old iron by Mathieson, I will have to cut this down a bit off both sides to fit my plane. Unfortunately I will probably loose the Mathieson mark, as the top of the iron is badly damaged.
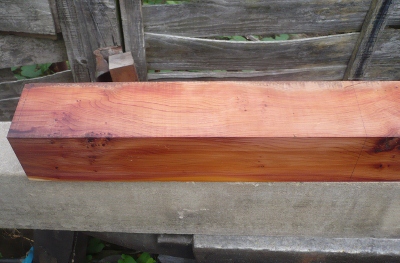
This is the piece of yew, I have never worked yew before for a plane.
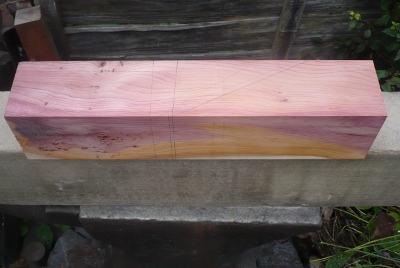
The 4 sides of the yew wood when planed, notice how it has changed colour. I found yew wood very difficult to plane.
I have cut out the bed and fitted the boxwood mouth closer.
The mouth closer is too high so I am going to take 1/2" off the top.
The iron has come up really well and I have reduced it from 3" to 2" wide, 1/2" off both sides keeping the Mathieson mark in the centre.

I have soaked the plane in raw linseed oil over night, at the moment it is all the colours of the rainbow, eventually it will tone down, I hope?
The mark on the front of the plane is upside down, this was by accident, it will have to stop as it is. Fortunately some early plane makers had their marks sometimes upside down, perhaps it was intentionally done, or they could have got it wrong also.
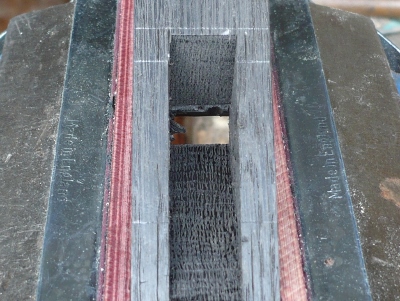
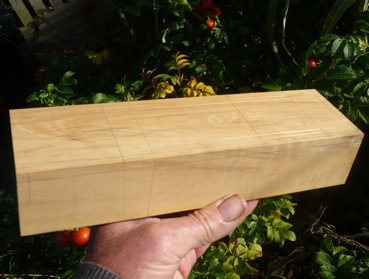
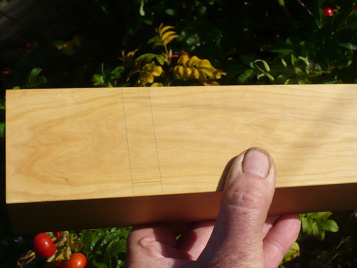
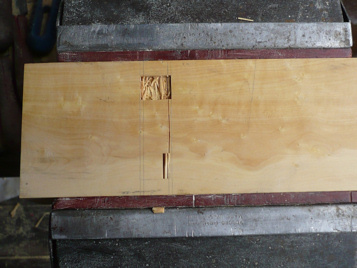
Showing the setting out marks and I have tried a different way to remove the waste. Instead of chiseling it out like a mortice, this time I bore holes. 3rd picture.

By now you should know about my blunt chisel technique, well here is my blunt saw method.
When I am sawing this very difficult Boxwood either side of the cheeks, I have ground the end of the saw, like the chisel, turned it upside down and I am removing more wood faster this way than with the teeth.
However every now and again I use the teeth to make the groove slightly wider caused by the set, another good tip.
The tape is holding a bit of copper which is protecting the bottom edge. It takes forever to level the bed.
The plane is now finished after many trials and tribulations.
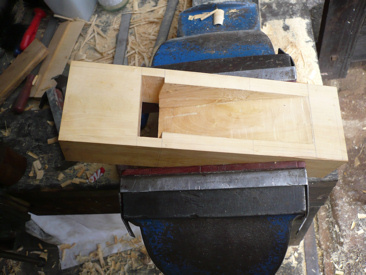
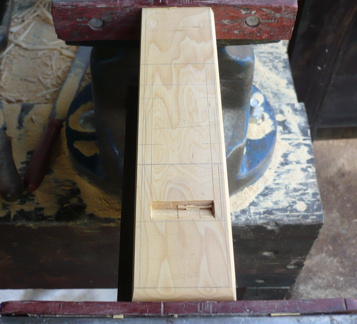
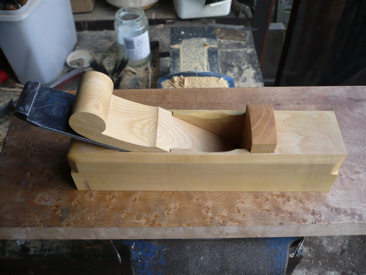
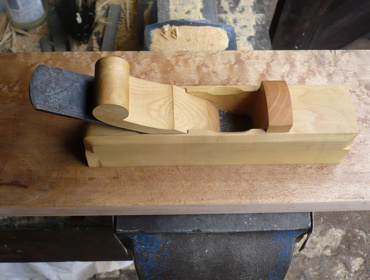
An even bigger mitre plane in Boxwood this time and a slightly different approach. Instead of cutting the bird mouth out underneath, I drilled one hole from the bottom of the plane into what will eventually be the escapement. Then from the top of the plane I started chiseling down from the back of the bed towards the mouth, using my new bench.
Here is my 1/2" mortice chisel in action.
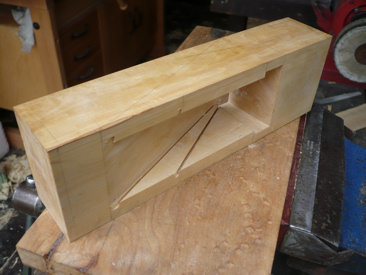
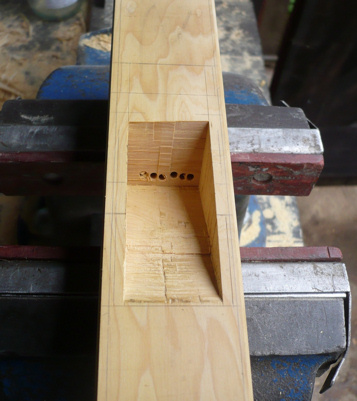
I chiseled down both sides of the bed, then in the centre piece I drilled holes, this method proved a bit quicker before chiseling out.
This picture shows still more chiseling to be done.

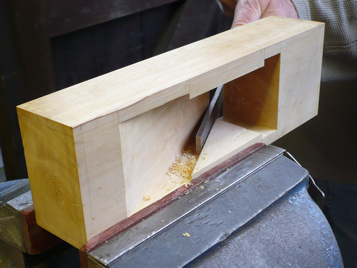
Today I finished the plane, the last job was the wedge. I only had one piece of timber left out of the original piece of Boxwood that I made the body out of. I needed a finished width of 2 1/8" for the wedge and as you can see from this picture I only just managed to get it out. The gauged line below shows the width I had to work too and as you can see at this stage there was still 2 pieces of bark showing. I just managed to get a perfect wedge.
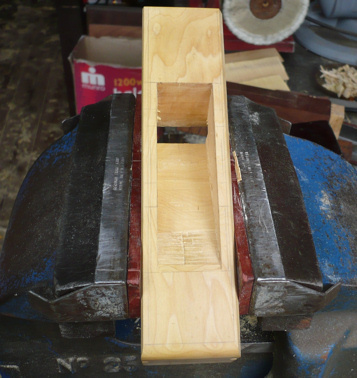
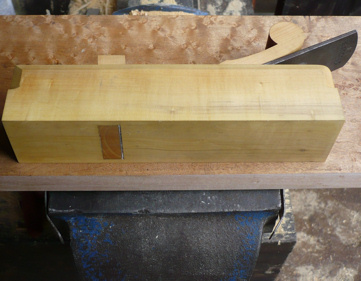
An even bigger Boxwood mitre plane than the last one.

This proved to be the hardest piece of Boxwood to work that I have ever used.

This is a first for me, using a piece if gauge plate ground on the end square, just like my blunt chisel technique to cut through a knot. The one tool I needed to do this would have been a 1/8" paring chisel ground flat on the end. So now I am on the look out for such a tool.

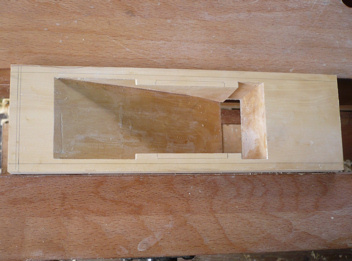

The finished plane.

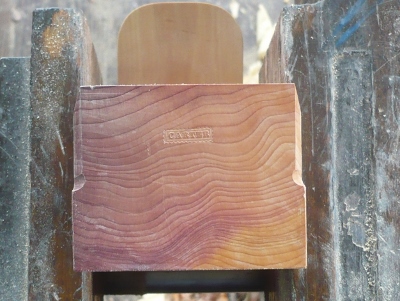
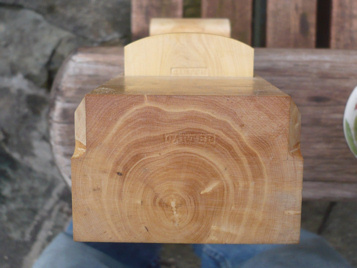
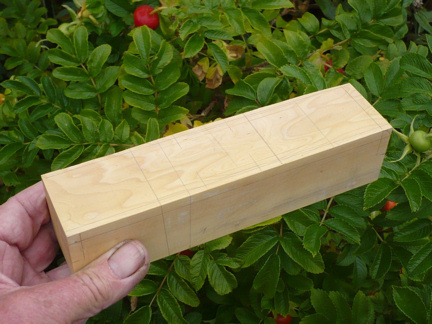
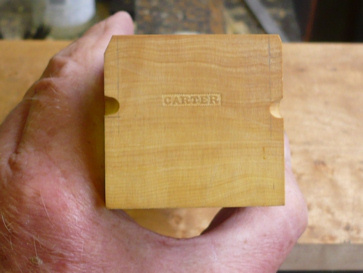
The top of the plane set out, beautiful grain.
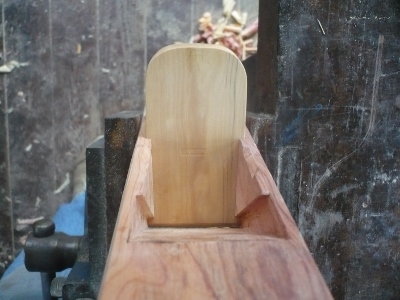
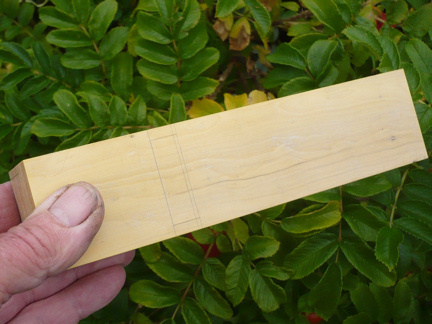
Underneath the plane showing where the mouth closer bit goes.
First thing is to put my name on the end grain. The filed half rounds will be at the bottom of the chamfers, this I normally do much later but in this instance I have done it early.
One of the top edges of the piece of Boxwood was missing, but it didn't matter because again the chamfer will eliminate this problem.
The front of the plane is 1 3/4" high and I counted the annual rings and there is just 50, it's amazing how slow a Boxwood tree grows. An Ash tree could do this in 4 years.
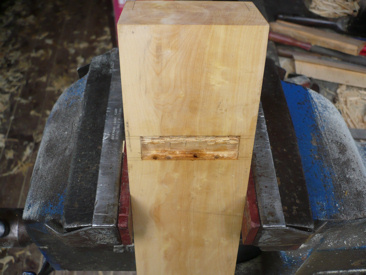
I have cut a bird mouth underneath so as to be able to drill a series of holes through to the escapement, this is for when I turn the plane over and start chiseling. I will eventually come across the holes, which informs me I am getting near the mouth and there isn't much wood left.
I have chiseled some of the wood out and have reached the holes.
Chiseled out ready for smoothing the bed etc.
Now I have cut the mouth closer out and where the iron and wedge goes, most of the hard work is finished.

I have finished the chamfers, put the mouth closer in, smoothing the top of it and finishing off with my blunt chisel. See below.


Now I am doing the eyes.
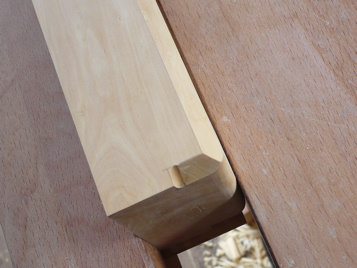
A picture of the bottom showing a nice fine mouth.
A nice rear end.
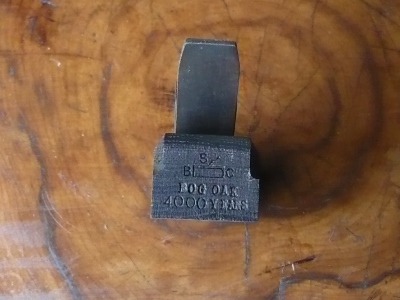
This is the iron I tried in the plane, but at a later date I changed it for a better one.

Here I am cutting the wedge out.

I have shaped the wedge and am now bbout to smooth it off.

Trying the wedge in with the iron to see how good the fit is.
Now I have shaped the bottom of the wedge.

Here is the plane finished with a different iron.
.
We are located at:
Contact us today!
If you have any queries or wish to make an appointment, please contact us:
+44 116 2762513 +44 116 2762513
bill.sarahcarter@hotmail.co.uk
Or use our contact form.