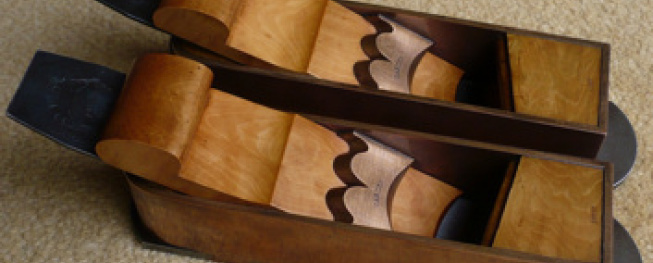
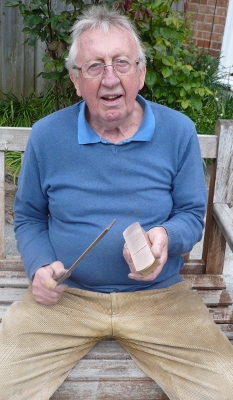
Making a 7" bronze d/t mitre plane
I haven't made a metal mitre plane for about 6 months, I can't work in the winter because it is too cold. I am usng 3/16" bronze throughout, thicker than the norm but I am trying to use it up.
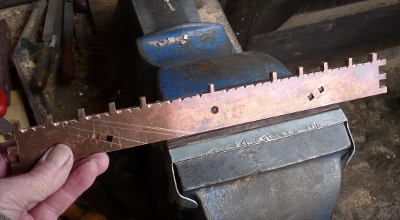
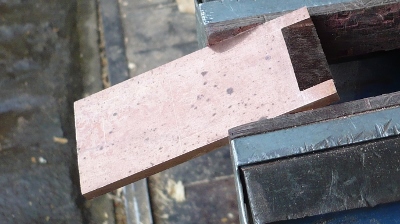
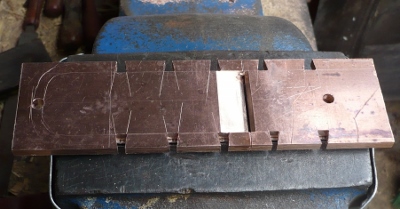
I have set out the dovetails on a wooden template as I always do with the bronze in front for sawing in this position.

Once I have done the vertical saw cuts I no longer need the template, I keep this for future reference.
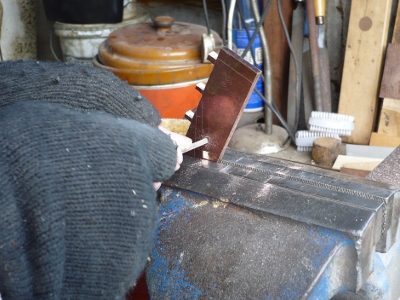
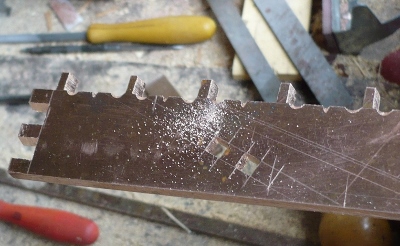
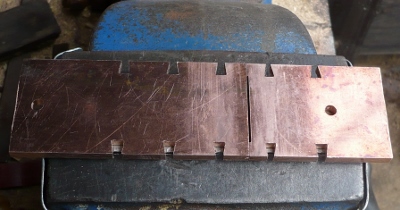
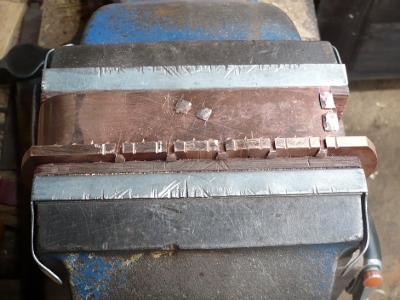
Cutting out the waste.
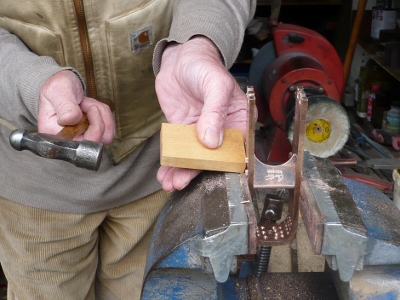
Notice even now it is cold enough for gloves.
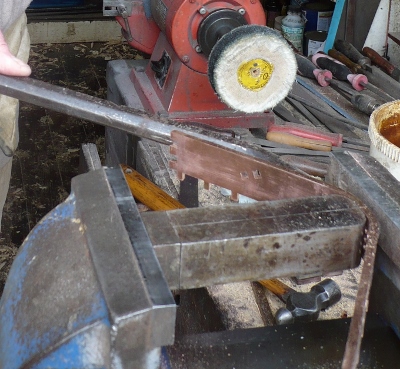
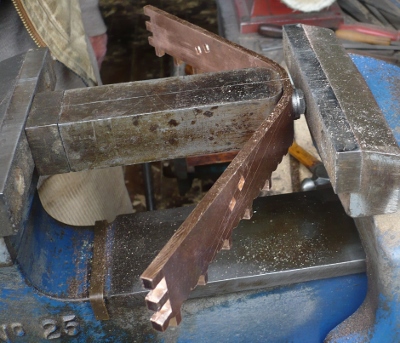
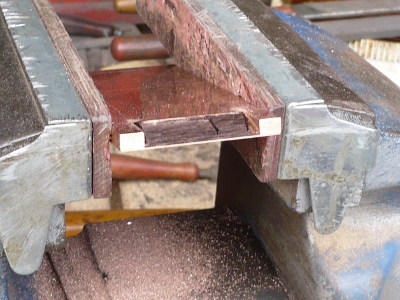
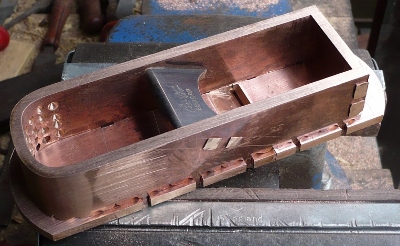
This shows what will be the front of the plane being fitted to the body.
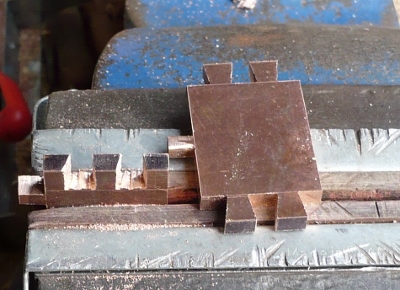
Tapping down the tight fit.
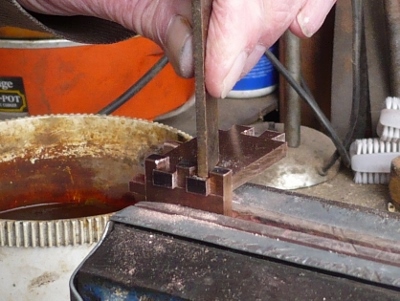
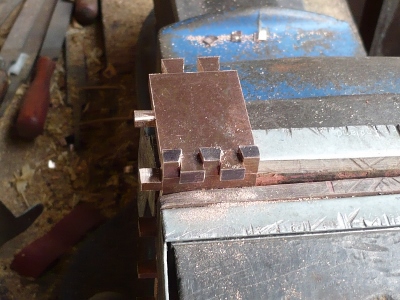
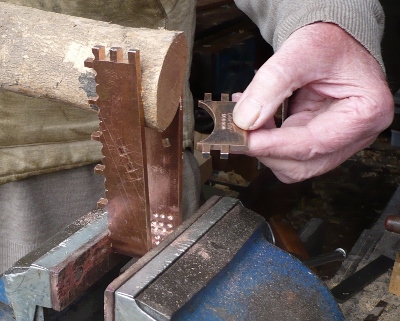
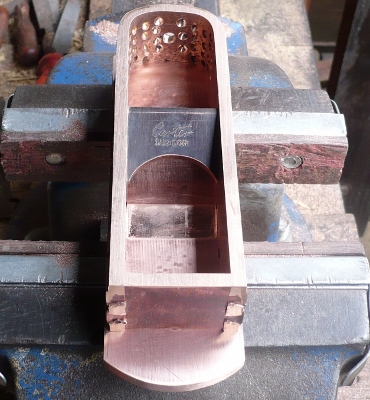
Now for the exposed cupid bows.

I don't set these out I just do them by eye using a round file and a triangular file, then a small file connecting the 3 cuts up.
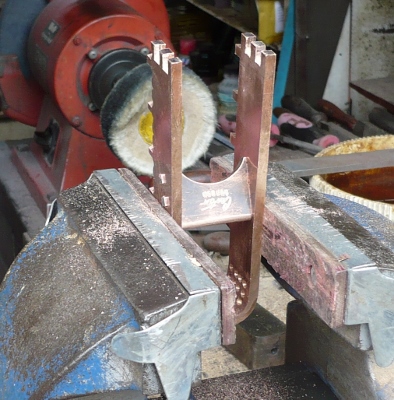
I have made it easier to bend reducing the thickness by part drilling through the bronze, using a metal former the right width, cramping them in the vice with a metal square headed wood screw going through the bronze into the former, keeping everything central. At a later date I will make the square headed screw into a round cheese head wood screw, you can't buy cheese headed screws over here anymore.
To get more information about bending the metal, refer to our techniques page No 3.

Having lined everything up tight in the vice I am using a crowbar to bend the metal a bit at a time both sides.
Here you can see the square headed screw in the back, this keeps the bronze in place as well as leaving a gap from the jaws of the vice to get a crowbar in.
I have packed it out with washers to give me a bit more room for the crowbar.
When using bronze, not brass and you take the former out, the front of the plane springs open quite considerably, you have to cramp just the heel of the plane, now with the former out, until you have the sides parallel, having eliminated the spring and put the front in.
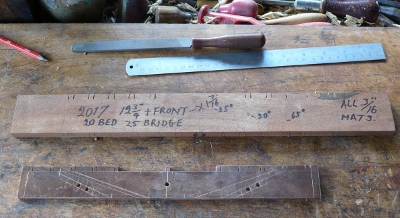
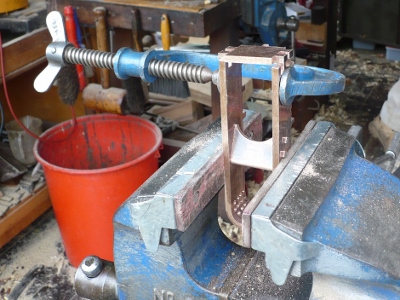
Now to get the bridge in, cramp the heel in the vice as shown, I am using a piece of boxwood, slightly oval as it happens, what ever you use it has to be slightly wider then the the overall width of the bridge. At this stage the bronze is like a spring, it wants to stay parallel. It's best to get somebody to insert the bridge while you do the turning of the boxwood to make it wider.
Cramping the bridge nice and tight.
Tapping it with a piece of boxwood.
Putting the front in using a G cramp.
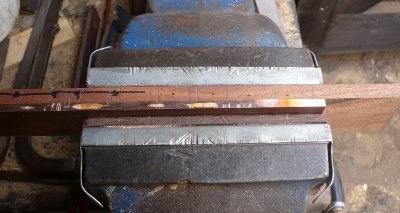
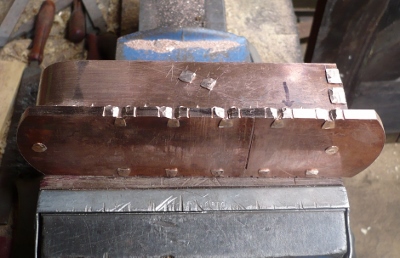
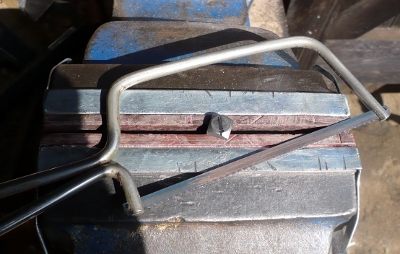
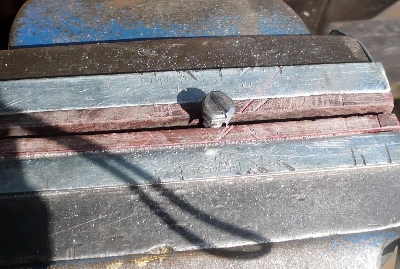
I have peened the body now to work on the sole. Put this piece of sole in the vice so the saw cuts with the hacksaw are parallel to the vice, I find when using a hacksaw what ever you are working on wants to be parelle or vertical.
Taking out the waste.
Filing it accurately.
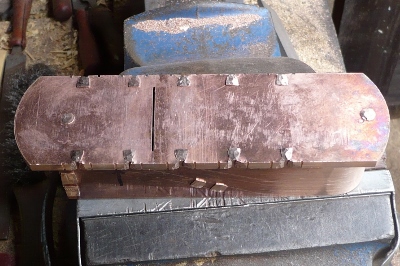
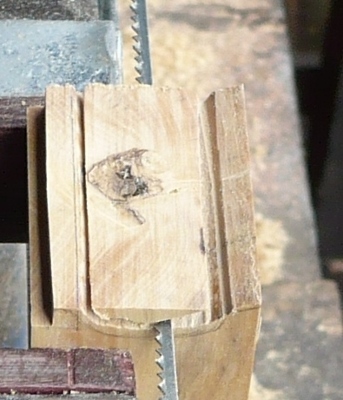
Having filed to the back of the bed accurately I turn the sole around in the vice and get that accurate as well. It wants to go near to a feather edge, but not quite. A lot finer than this picture shows.
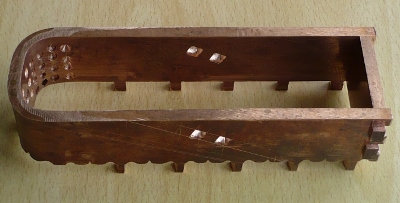
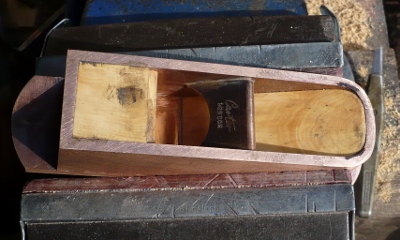
Just showing how far I have got.
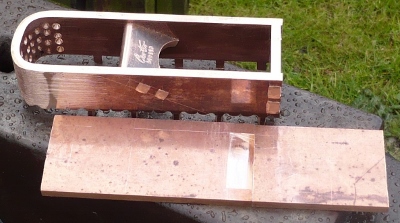
The sole is now ready for preparation to attach to the body.
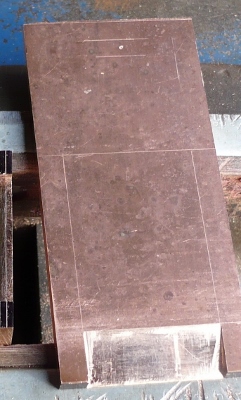
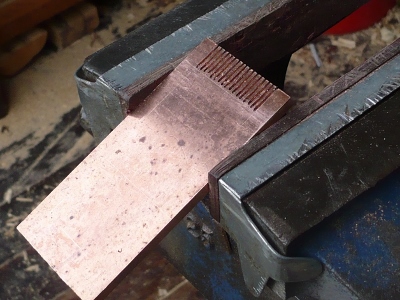
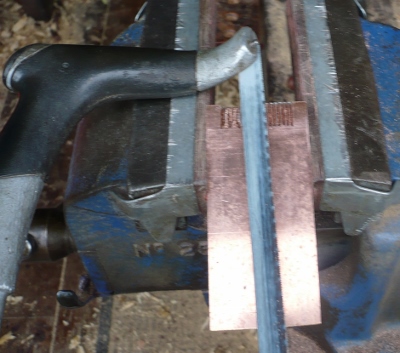
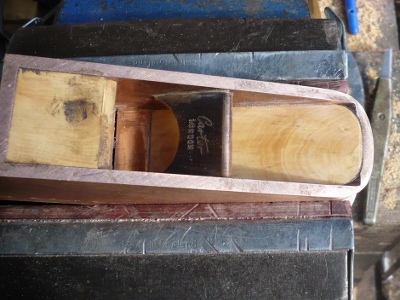
I have placed the body on top of the sole marking around the dovetails and the 2 holes front and back. I then drilled them out and cut our the waste for the pins, using hacksaws cuts and files, just like I showed on the bevel near the mouth.
I have cramped everything up just to make sure everything fits and especially the joints at the mouth.
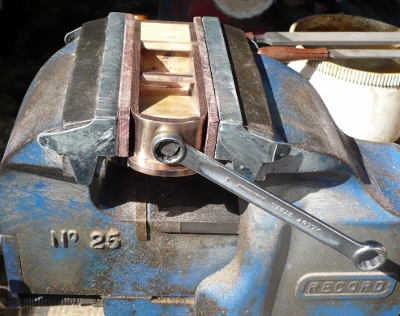
I had a large block of steel under the plane in this picture to form an anvil. I am just tightening up the joints a little bit by peening before I take it out of the vice and do the rest of the peening using a ballpein hammer on a proper anvil. I also use a round ended punch to do some sccurate peening where needed.

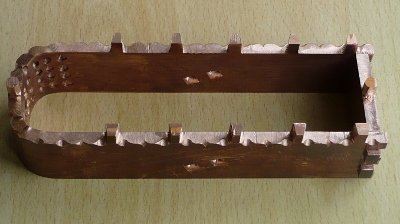
In this picture I still have to peen the 2 sides of the plane. Tightening the dovetails and forming the double dovetails.
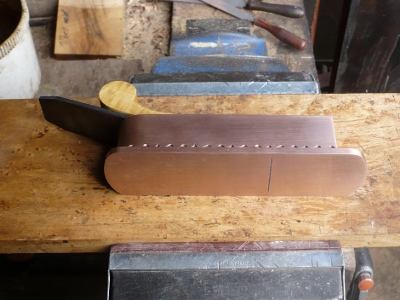
All the peening done, this picture shows the front of the plane with the top 2 dovetails filed flat as I was going to put cupid bow decoration around the top edge of the plane, but I changed my mind.
The reason why I haven't filed the front dovetails flat before I fixed the sole with all the previous peening, you can slightly affect the front joints, so when the sole is fixed I check that nothing has moved and sometimes give it more slight peening, just to make sure.
You always need a full 1/16" waste for peening and sometimes in order to spread the metal a bit easier when peening is to introduce small saw cuts across the dovetails. I then use a small cold chisel with a tiny blunt end inserted into these saw cuts, spreading the metal left and right, sometimes this is not necessary but it can help. Look at the next picture, I have marked one of the saw cuts with a little arrow.
You can see now I have done the peening.

I am peening the dovetails.

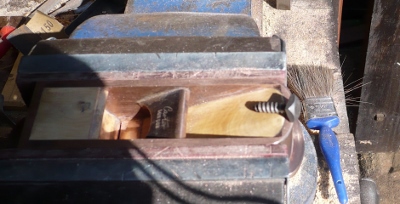
I have now filed all the waste away as the next pictures show.


Still a little bit of work to do on the final cleaning up, this picture is at the end of the working day. I am holdind a large file and the expression on my face was trying to convey how I am completely done in. From now on the infill is a doddle.
I picked up this piece of boxwood big enough for the front and rear infill. I shall have to find another bit for the wedge.

The first cut with my Skelton rip saw. I had just sawn this piece off when Sarah came down and she commented on how smooth the cut was, almost like it had been planed.

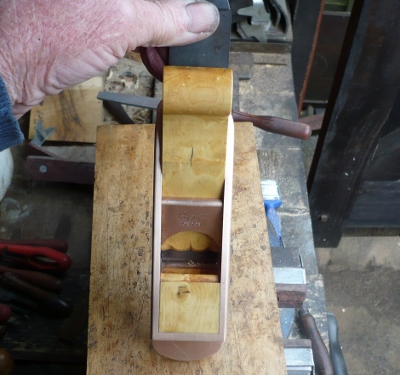
Here I am working on the front infill, it has got a nice little knot in it.

Started to smooth it with a large round rasp.
Finishing off with my blunt gouge technique. Notice I have put a bit of scrap wood at the back of the piece I am working on to prevent breakout on the far edge.
The front infill is glued in and I have just glued the rear infill in, holding it in place with a piece of steel and a cut off wedge. I use Araldite slow setting for my infills. The front piece of boxwood is for the wedge.

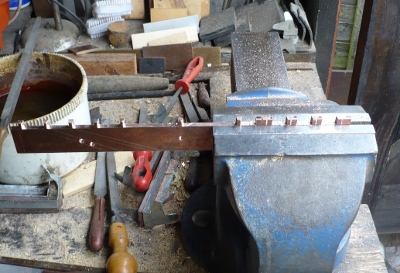
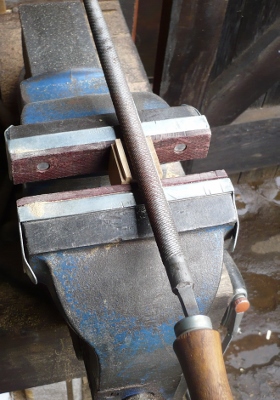
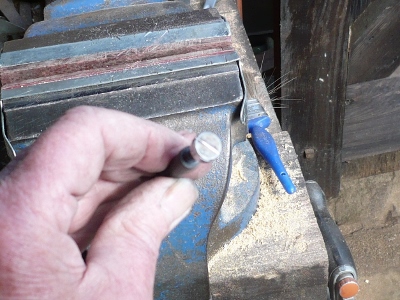
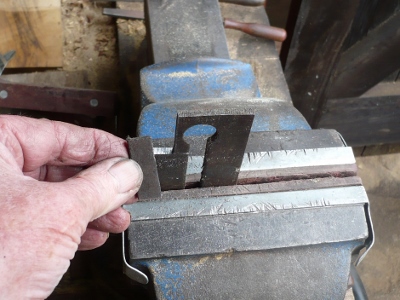
I have found a Herron iron which I have reduced in width and in this picture , no lateral movement caused by the bend in the bronze.

I have marked in black the bronze I have got to ease.
Here I have filed the bit of bronze away, plenty of lateral movement for the iron now.
As you can't get cheese head wood screws over here I convert a square headed coach screws, they have a deep wood screw like thread that really bites into the wood.
I first fix the screw with a square head into the rear infill.
I now mark a vertical position for the vertical slot.

I have unscrewed the screw, put it into the vice and as I want a very fine slot I use a junior hack saw.
I cut the 4 corners off and make it round using a grind stone wheel.
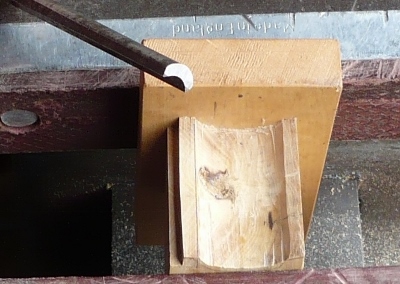
I have adapted a screw driver bit to a very fine edge that will fit the slot. I always use a brace, a lot of force is needed so as not to damage the slot. I have got the slot dead vertical which looks better in the plane.
I have rounded the top edge of the plane slightly but kept the front edge square.

I still have still got to make the iron nibbed.
What will be the nib I have cut out of a thick parallel plane iron. I drill and rivet it on the iron.
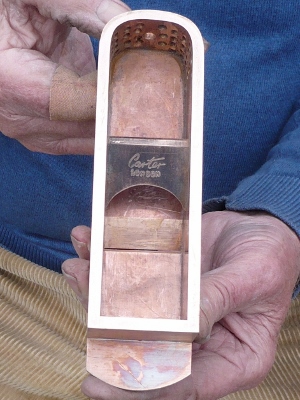
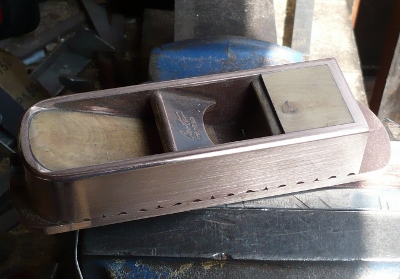
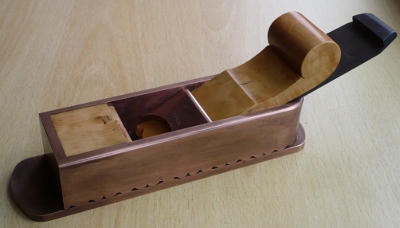
The plane has been submerger in raw linseed over night, there isa bit of detail on the bottom of the wedge and a nice little knot in the front infill. I have coloured the bronze to make it look slightly antique.
We are located at:
Contact us today!
If you have any queries or wish to make an appointment, please contact us:
+44 116 2762513 +44 116 2762513
bill.sarahcarter@hotmail.co.uk
Or use our contact form.